Showing posts with label Flower. Show all posts

Thursday, 14 February 2013

Twin roses Wedding Corsage


Last minute request, 4 days before the wedding day (I mean, what?!). 

3 days of completion for 20 pieces of corsages, put in every details during my girls' night nap time. 

Two simple rolled no-sew roses, two cute buttons, a leaf and a slot for description. I don't have printer at home, hence the hand-writing took place.


You can view them in my facebook album now, Corsage for any event, at my "Sarang Craft by Abby" page. Do drop by.

Roses are red, violets are blue (What's next?).

:-)


Wednesday, 10 October 2012

Roses Name Badge for Somebody's Wedding!


The theme: Teal, white and grey.

And so I decided to make 3 roses, with respective colors and a big leaf to hold the name.

There were 30 of them:


A simple rose tutorial for you to try, it is right here. But I secured the rose using glue, not thread. Making my life easier!


Wednesday, 29 August 2012

Baby Lace Headband


Visited my newborn niece last week. Made her those 2 lace headband - a turquoise ribbon and a big white petal flower.

The lace is stretchable, fit nicely with her petit head. How cute!


If only Balqis likes to wear hair accessories *sigh*. 


Thursday, 12 July 2012

Carnation Tissue Flower with Lovely Bird Topper

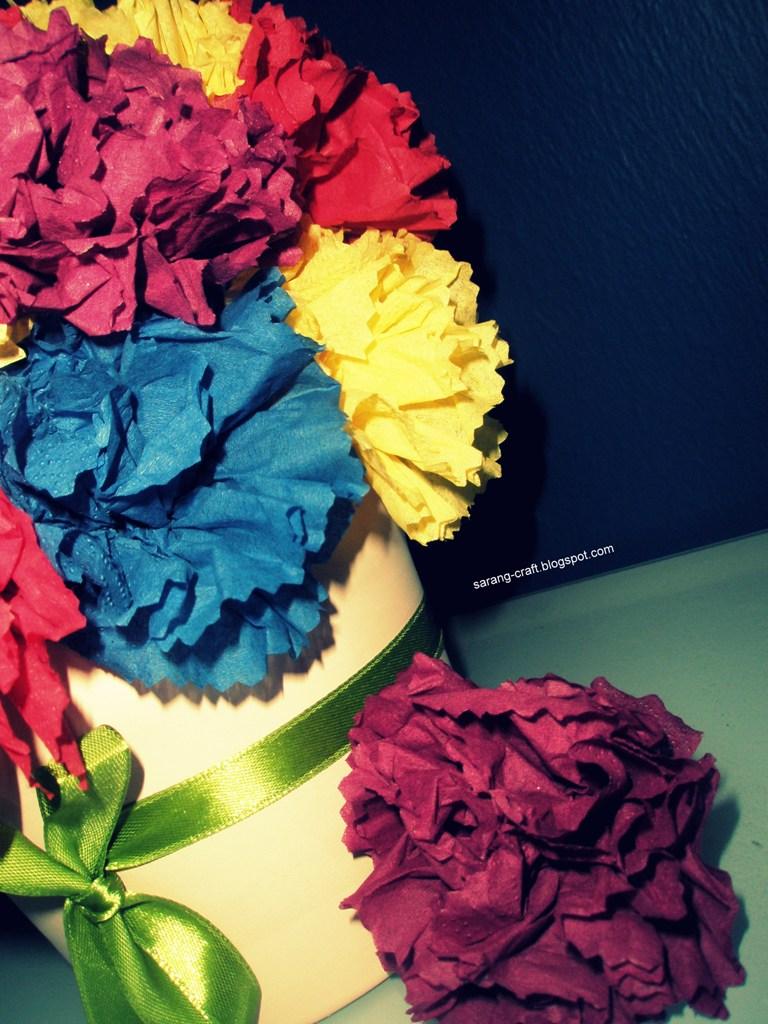
I never had enough with tissue flower. It just looked so gorgeous on any table yet so easy to make. I volunteered myself to make flower centerpieces for guest tables for a wedding ceremony, namely my brother-in-law's. There were 21 tables altogether, and so be the bunches of flowers I have to make. I didn't think of any flower except this easy DIY carnation. I made the carnations tissue flowers in four beautiful colors. Tadaaa:


Maroon
Navy blue
Red
Yellow
There were 3 carnations combined using floral tape to make a bunch of flower. I used IKEA Fantastisk tissue (40cm x 40cm). The tissue is so big, I can make 8 carnations from only one tissue. I wonder how many carnations can be created from a packet of the tissue *imagination in progress*. 

Actually, in real ceremony, I inserted a handful of potpouri inside the cone vase, to make it looked full and more bellissimo. It was my bad I didn't take a single picture on the d-day. I left my camera at home.

There were 21 birds for 21 bunches of carnations.


As for the lovely bird on top of the flower, it was solely my idea. I did think of bee and butterfly, but the birds came out instead. I used felt, with polyester stuffing and colorful stitching (I just love experimenting with colors).


Out of those birds, below is my favourite. Unfortunately, it was taken by the wedding guest :-(


On top of that, I did promote my blog along the way:

I got my own label now!
Want to make your own tissue flower? There are a bunch of creative websites out there that include tutorials on making one. I am so kind right now I'm gonna save your time. I'll give you one here. Try it and you won't believe you are that creative too!


Wednesday, 11 July 2012

Name Badge for Wedding


It was cool to make these name badge and wear them on the d-day. No hassle for guests to find the bride/groom's family here and there, because the badge says it all.


With full of enthusiast, I made them for my brother-in-law's wedding. I free handed drawing the flower pattern on a piece of paper, and surprisingly it turned out beautifully on felt. 


A little close-up on the name badge: 


I regret I didn't snap a pic while wearing my "Sister-In-Law" badge. Owh! :-(


This is me with my almost-8-months-belly, my 2 years old girl and the groom (my brother-in-law):


Kawen! Kawen!


Tuesday, 17 April 2012

My Weekend Project #1: Tissue Paper Flower


There have been plenty of weekend projects done, but only now have the time to blog about them. And I start with this tissue paper flower. I googled about tissue and I found a bunch, and somewhat this video caught my eye:


It only took you less than 3 minutes to finish a flower. For a centerpiece like mine above, I spent about an hour though. For an experiment, I used the typical tissue that you blow your nose when you got a cold. Seems like it turn out very pretty. And I decided to go to the next level. I bought four bright-colored tissue from IKEA and walla:


My little daughter was enchanted with the flower. She took one for herself.


Try it and you won't believe that you got the talent as well.